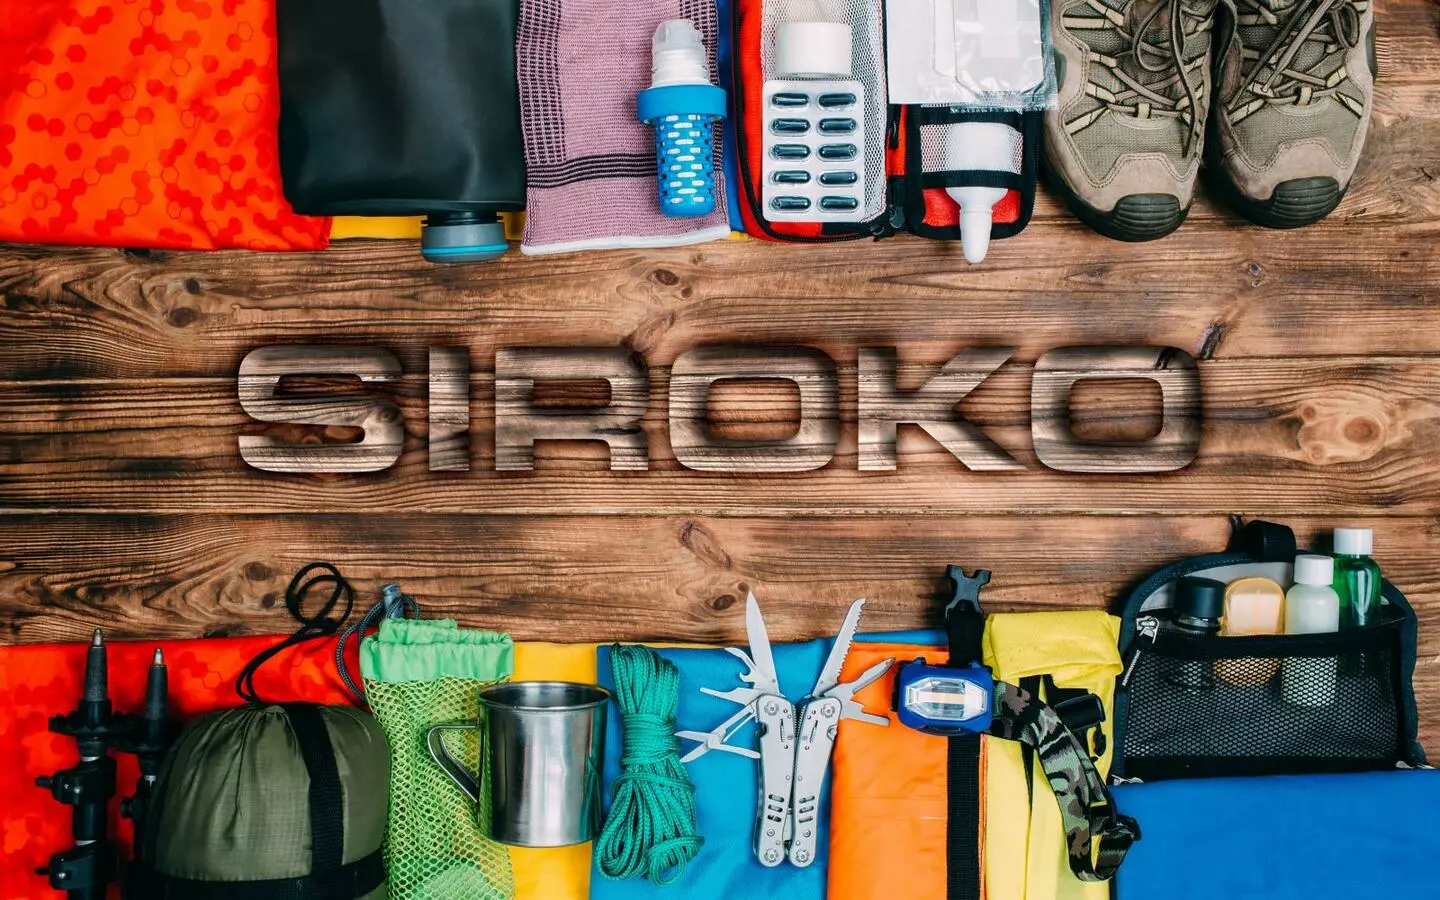
Having a good, comfortable backpack is not enough to get yourself fully ready to venture into the mountains. You need to know what to pack based on the intensity of the route, ensuring you have all the essentials for any circumstance without putting extra weight on your shoulders and waist. In this blog post, you will find a few checklists for all the items you might need according to the type of route and its duration. This way, you can get yourself prepared to enjoy all your outings to the max.
Basic equipment for 1-day outings
If you’re wondering what to pack for a 1-day hike, rest assured you won’t need much, but make sure you have at least all the essentials to stay well covered. Here’s a checklist:
- 1–2 liters of water: Use either a bidon or a hydration bladder.
- Light lunch and snacks: Ideally a sandwich, mixed nuts, and some fruit.
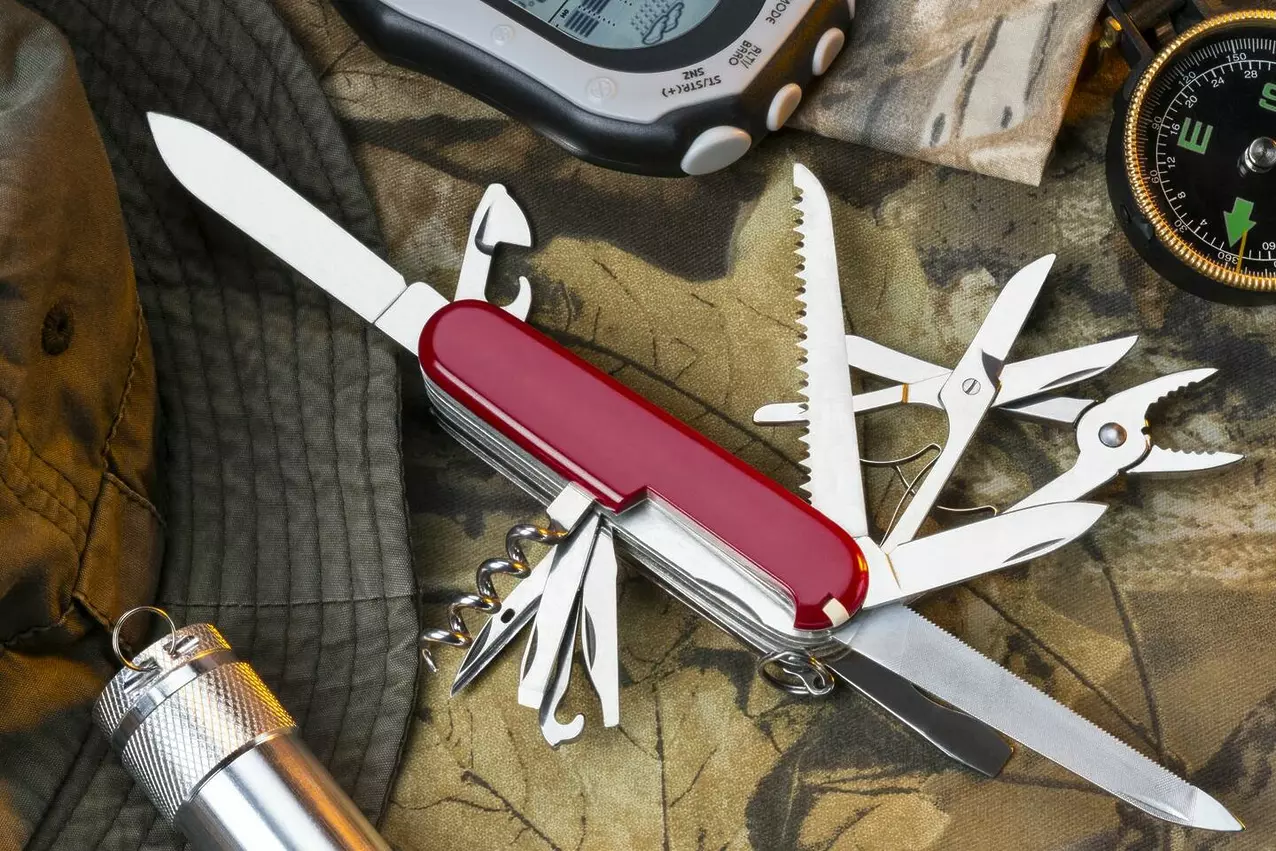
- A multipurpose pocket knife and a lighter: They can be quite useful in difficult situations.
- Clothing: Ideally a waterproof windbreaker jacket, long/short pants, a cap/hat, a pair of gloves, and spare socks.
- Sun protection: SPF sunscreen and lip balm, plus a pair of sunglasses.
- First-aid kit: Band-aids, disinfectant, small bandages, disposable gloves, and painkillers.
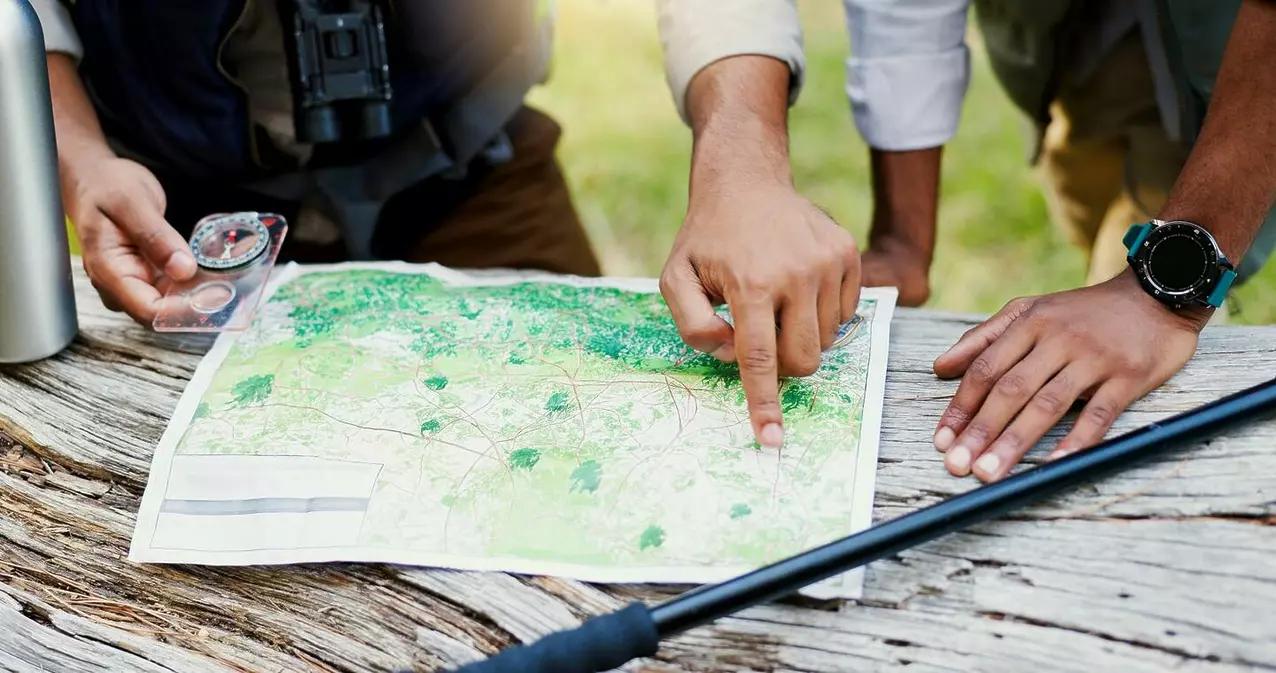
- A physical map and GPS: Knowing how to use a compass and a topographic map for navigation is key, so take both, even if you already know the route like the back of your hand.
- Fully charged phone: Take a power bank with you as well, just in case.
- Headlamp or small flashlight: In case the route ends up being longer than expected.
- Thermal emergency blanket: Lightweight and essential in case of an emergency.
- ID documents: It never hurts to take them with you.
Equipment for 2-night outings in a shelter or a cabin
If you plan to go on a hike for two days, you can pack light and save space by staying in a shelter or a cabin, as you won’t be needing to carry a tent or a sleeping bag (although in some shelters, it is advisable to bring your own bag). Here’s a checklist:
- Essentials from the list above.
- Spare clothing suitable for the weather conditions you might encounter: Socks, a t-shirt, and underwear.
- Light, comfortable footwear to rest in: Flip-flops or slippers.
- Lightweight sleeping bag: Some shelters may require one for hygiene reasons.
- Small towel and basic toiletries.
- Extra lunch and snacks for a second day: Just in case the shelter doesn’t provide food or beverages. However, make sure to check if they do.
- Phone charger or power bank.
- Cash: Not all shelters accept credit card payments.
Equipment for camping or bivouac sheltering for several days
If you plan to spend a few extra nights outdoors, either sleeping in the open (bivouac) or in a tent, the list of items you need to pack is considerably longer. Here’s a checklist:
- Essentials from the lists mentioned above.
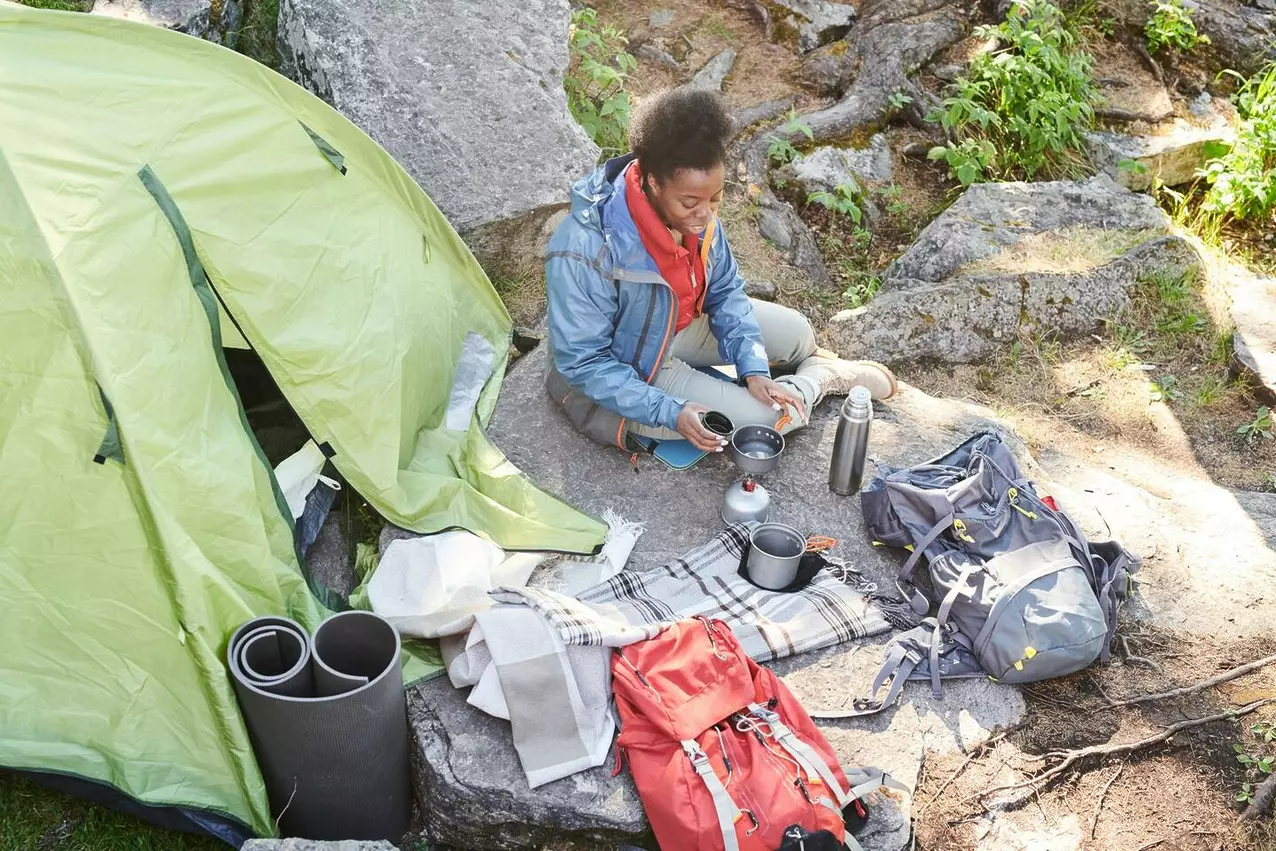
- Lightweight tent or bivy sack.
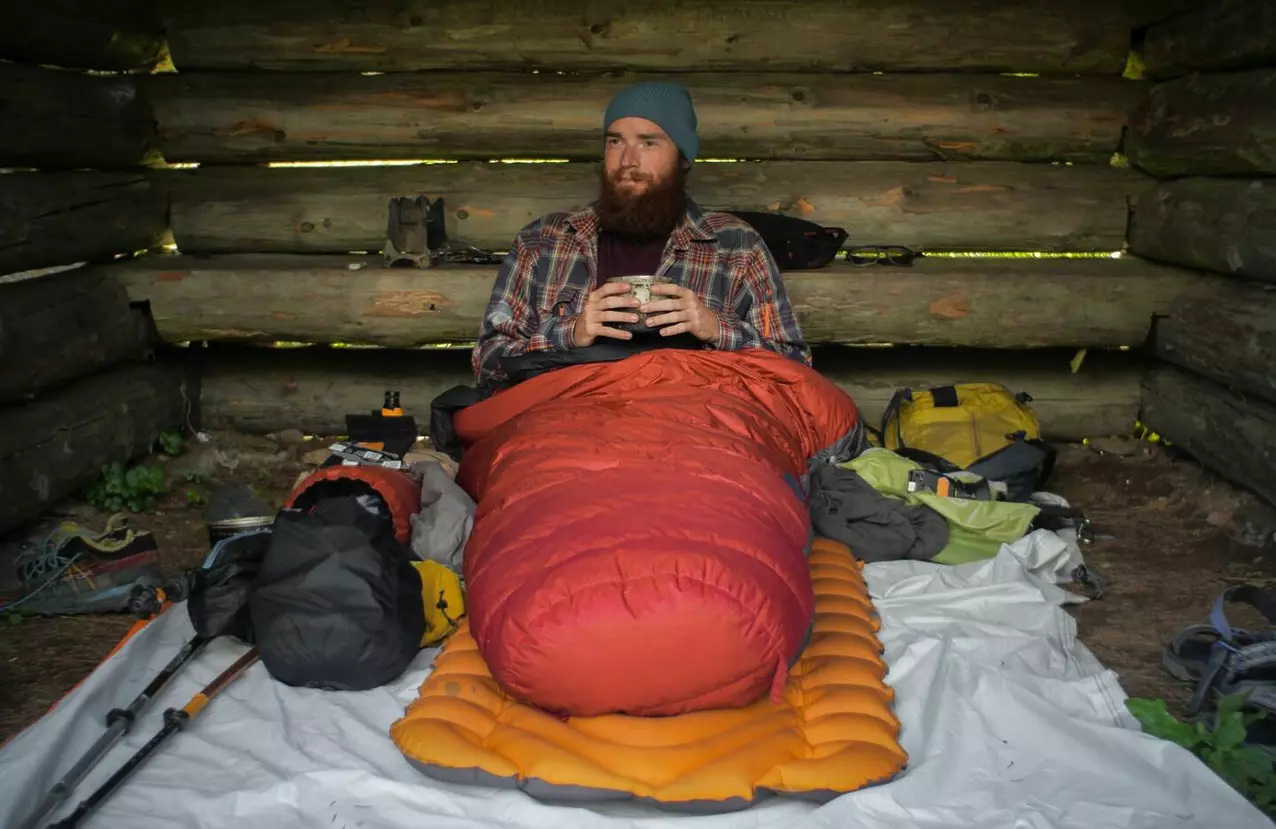
- Sleeping bag suitable for the weather conditions you might have.
- Insulating mat.
- Stove and basic cooking utensils.
- Freeze-dried or light food and snacks for several days.
- Water filter or water purification tablets.
- Spare clothing: Different layers for protection against the wind, cold, and rain.
- Gloves, a hat, and a neckwarmer: Nights can get cold, even in the summer.
- Repair kit: Needle, thread, duct tape, multipurpose tape…
- Rain cover for your backpack.
Optional gear depending on the activity
In addition to the basic equipment mentioned above, you can consider these, depending on the type of route:
- Trekking poles: Ideal for long or hilly hikes. They serve as support for the load on your back.
- Specific high mountain sunglasses and sunscreen.
- Light rope or cordelette: Useful for unforeseen events.
Keys to pack adequately for your hike
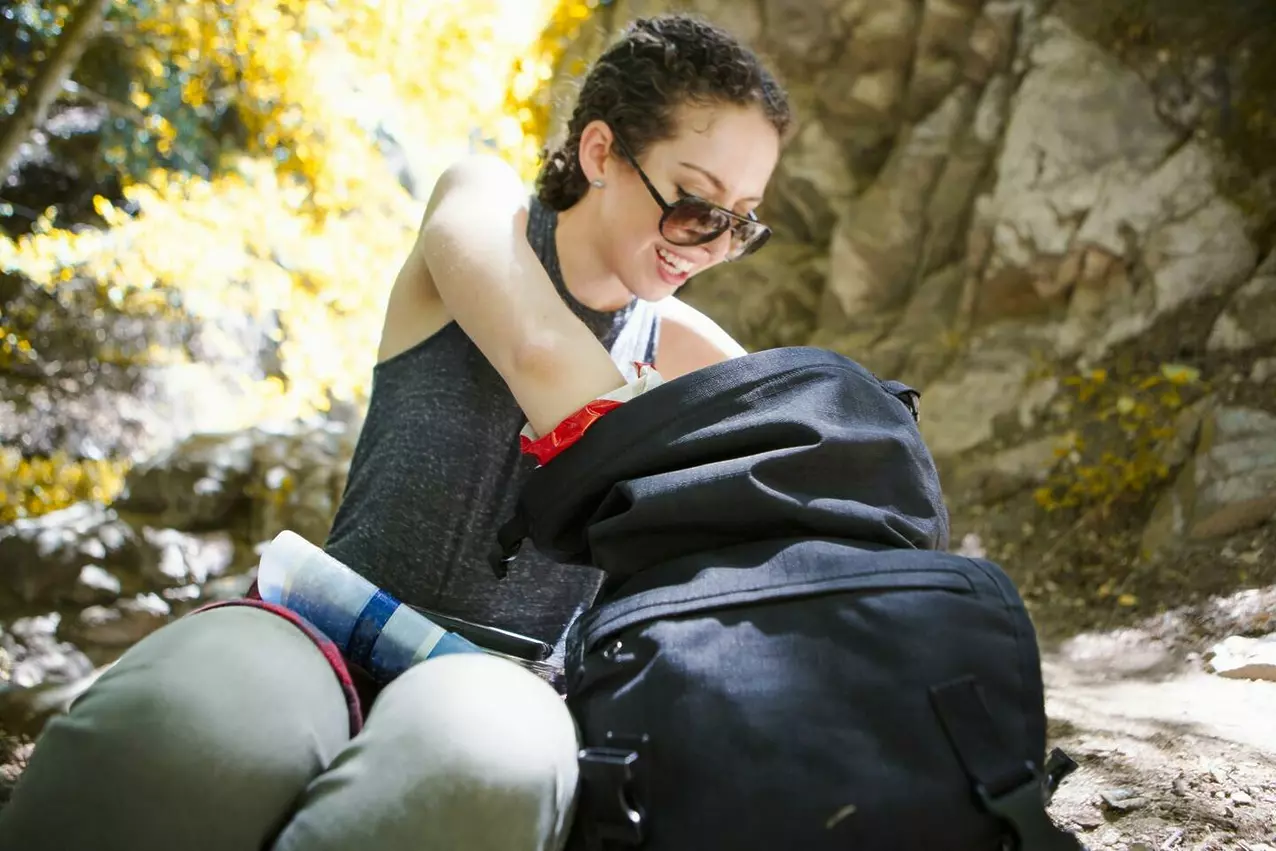
Now that you know all the essentials you need to take with you, here are some tips on how to evenly distribute the weight in your backpack and organize the items based on your needs and frequency of use:
- Distributing the weight: Heavy items should be placed close to your back and right in the middle of the backpack.
- Organizing by frequency of use: Put those items you will be using more often either in the upper part of the backpack or in the side pockets, if it has any.
- Carry only what’s absolutely necessary: Go through the checklist one more time before you leave to make sure you’re not overloading your backpack.
- Test the weight before leaving: Once your backpack is ready, go for a short walk around the area to make sure the weight is comfortable on your back and waist.
Packing for a trip to the mountains is not as difficult as you might think, but should always be done with the type of outing or route you are planning to do in mind. It’s not just about packing, but more about carrying exactly what you need, balancing comfort, essentials, and weight. Using a checklist will help you make sure you don’t forget anything important and avoid carrying unnecessary items that will only make your hikes heavier.
Remember that each trail is different, and the preparation behind it depends on the weather, the duration, and the terrain, as well as your experience and that of your companions. Look for information, get advice from experts and locals, and don’t venture into the mountains without the right equipment. Gear up to the max for your next hike!
