As the daylight hours dwindle or the winter season sets in, we slowly head back to our indoor bike trainers to start pedaling at home again. But, as Darth Vader would say: “If you only knew the power of the dark side”. With proper bike lights, the right clothing and a few safety rules, the dark side is not only powerful but also a lot more fun than staying at home in front of a screen.
Bike lights
Never go out cycling at night without them. Make sure you have a front white light and a rear red light. Each can be used in steady or flashing mode, depending on the circumstances.
Their power is measured in lumens. The higher the number, the more powerful the light. In other words, more lumens = more brightness.
Make sure you know the traffic rules in your country or the country you are traveling to, and ask yourself three questions to choose the right lights:
- Where are you going to ride?
- At what speed?
- How long will you cycle in the dark?
Depending on the answers, you will need more or less powerful lights. The best and most powerful ones are expensive, so if you are on a tight budget you may not be able to ride as far, as fast and as long as you would like.
If you are riding in well-lit areas, be-seen lights will suffice to make sure you’re clearly seen by pedestrians and other vehicles. The front one must have at least 100 lumens for minimum safety. Over 100 lumens means you will be seen and you will see better in poorly-lit areas.
If apart from well-lit areas, you also ride in poorly-lit or dark areas, you will need to-see lights in order to illuminate the terrain ahead. A 500-lumen headlight allows you to move around easily on poorly-lit roads. 1000 lumens offers good visibility for fast riding on dark, unlit roads. Anything above 1000 provides better vision.
In poorly-lit or unlit areas our speed is a key factor in choosing the right lights as our reaction time is shorter at high speed. The sooner we see the pothole or obstacle, the faster we can react.
- At 20-25 km/h between 500 and 700 lumens.
- Over 25 km/h, minimum 700 lumens.
- Above 30 km/h, 1000 lumens.
- Anything above 1000 lumens will help you see better going downhill.
In MTB it is always a good idea to add extra lighting power and a headlight on the helmet to illuminate the area in front of you. This is especially important on narrow trails or if you dare to explore night routes full of descents.
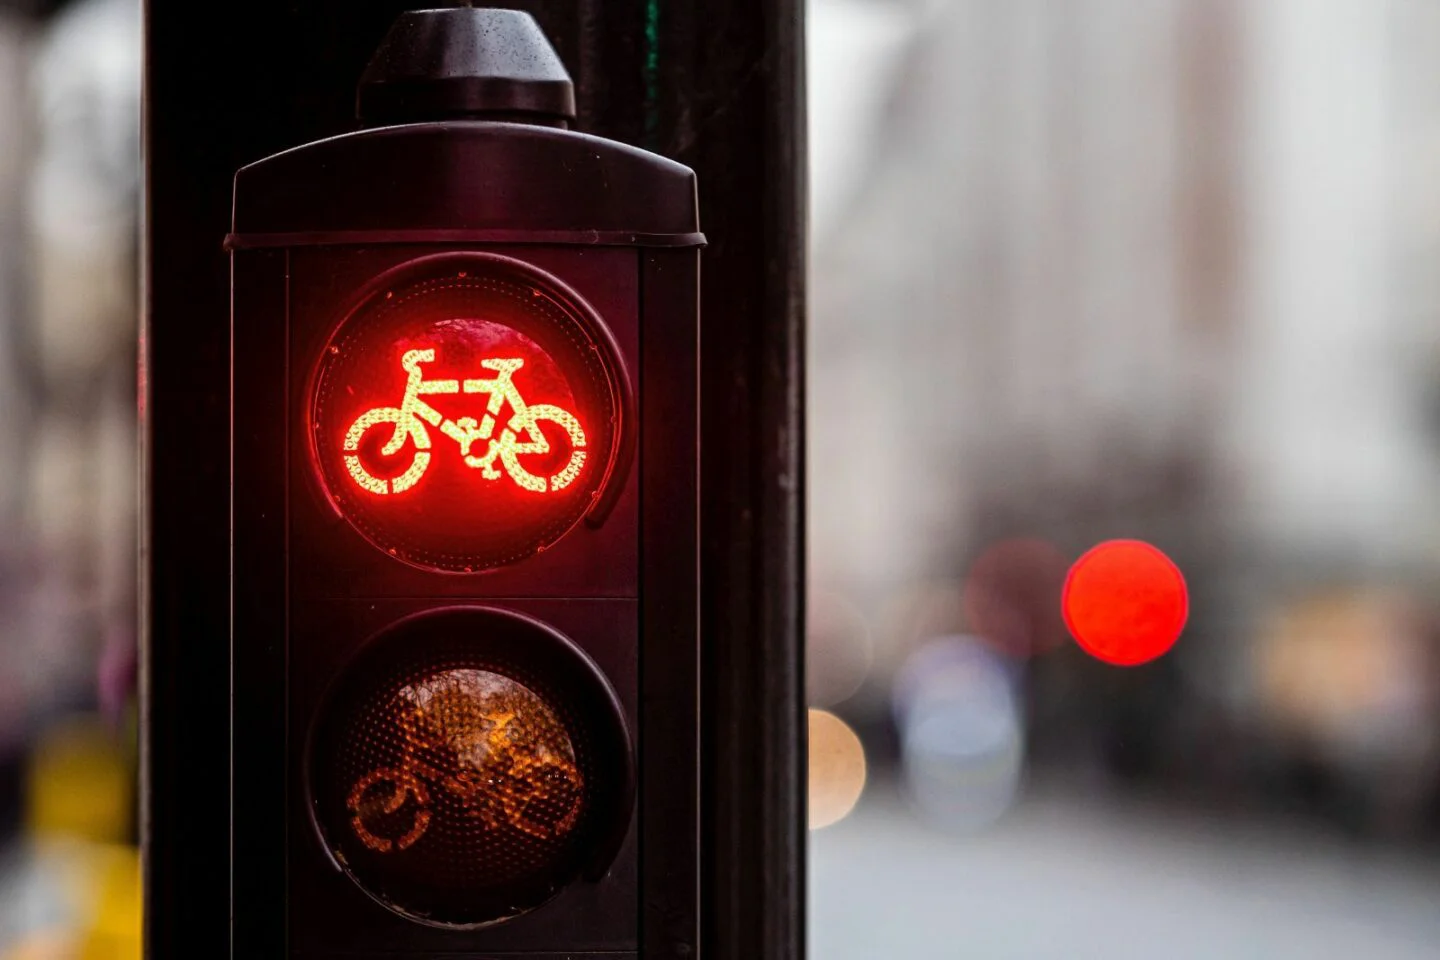
Three key elements in bike lights: battery, mount and modes.
- Battery
- Mount
- Modes
Battery
- Rechargeable rather than battery-operated.
- Lights with built-in battery or separate battery.
- Charge status indicator to avoid running out of power and light.
- Emergency tip: a set of be-seen lights mounted on the bike or a small external battery to recharge the lights.
Mount
- The vast majority of lights come with a mounting system. There are different types of holders: rubber O-rings, plastic straps, Velcro, metal clamps, bike computer mount adapters, etc.
- Make sure it works for your seatpost or saddle (rear light), and handlebars or stem (front light).
- Your choice of bike lights may be limited if you need a special mount.
- Be-seen lights require the simplest holders, while the most powerful, heavy and expensive lights need the most complex and resistant mounts.
Modes
- Flashing and steady.
- Different types of flashing mode make lights more noticeable.
- There can be 1, 2 or 3 different intensities in the steady mode. This allows us to adapt to the lighting conditions of the area as well as to avoid blinding other vehicles or pedestrians.
How to position and where to direct the lights?
The rear ones must be mounted on the seatpost or on the saddle itself. Fizik saddles have an integrated rear light mount under the saddle.
Make sure they’re not covered by the saddle bag or any other item.
BE CAREFUL on rainy days or if you ride on wet and dirty terrain. The rear light may get covered with dirt and become barely visible.
The headlights should be pointed slightly downward, focusing the light on the road and helping us see the area ahead without blinding other vehicles or pedestrians.
Cycling Clothing and Glasses
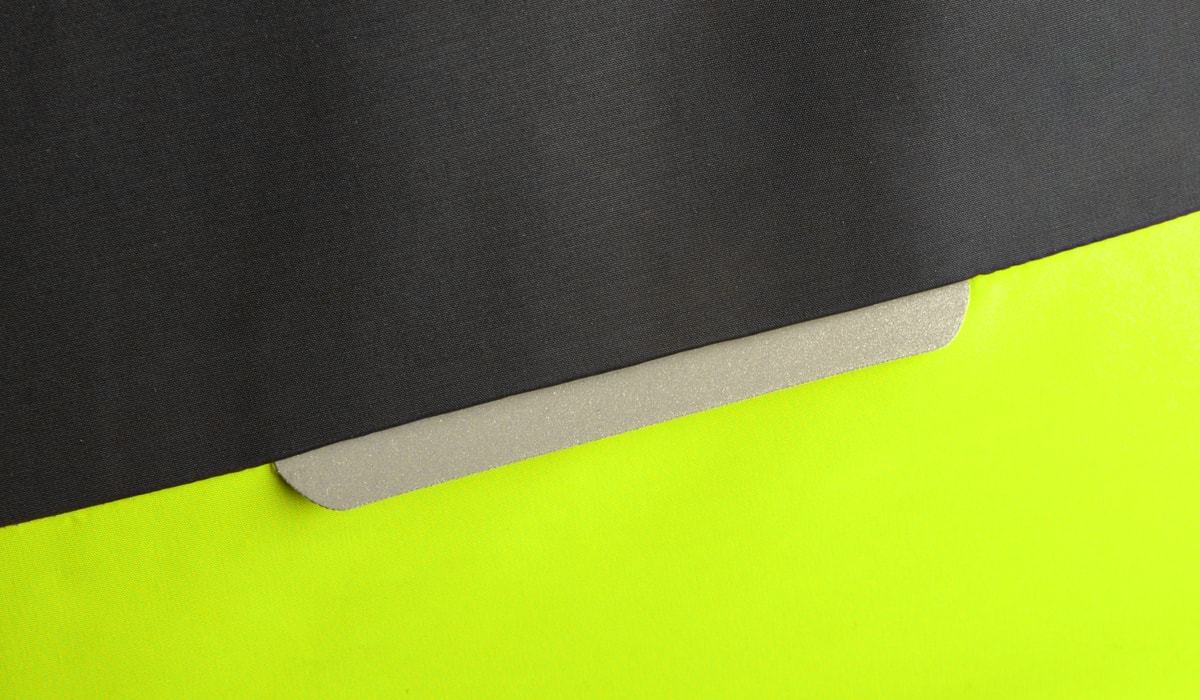
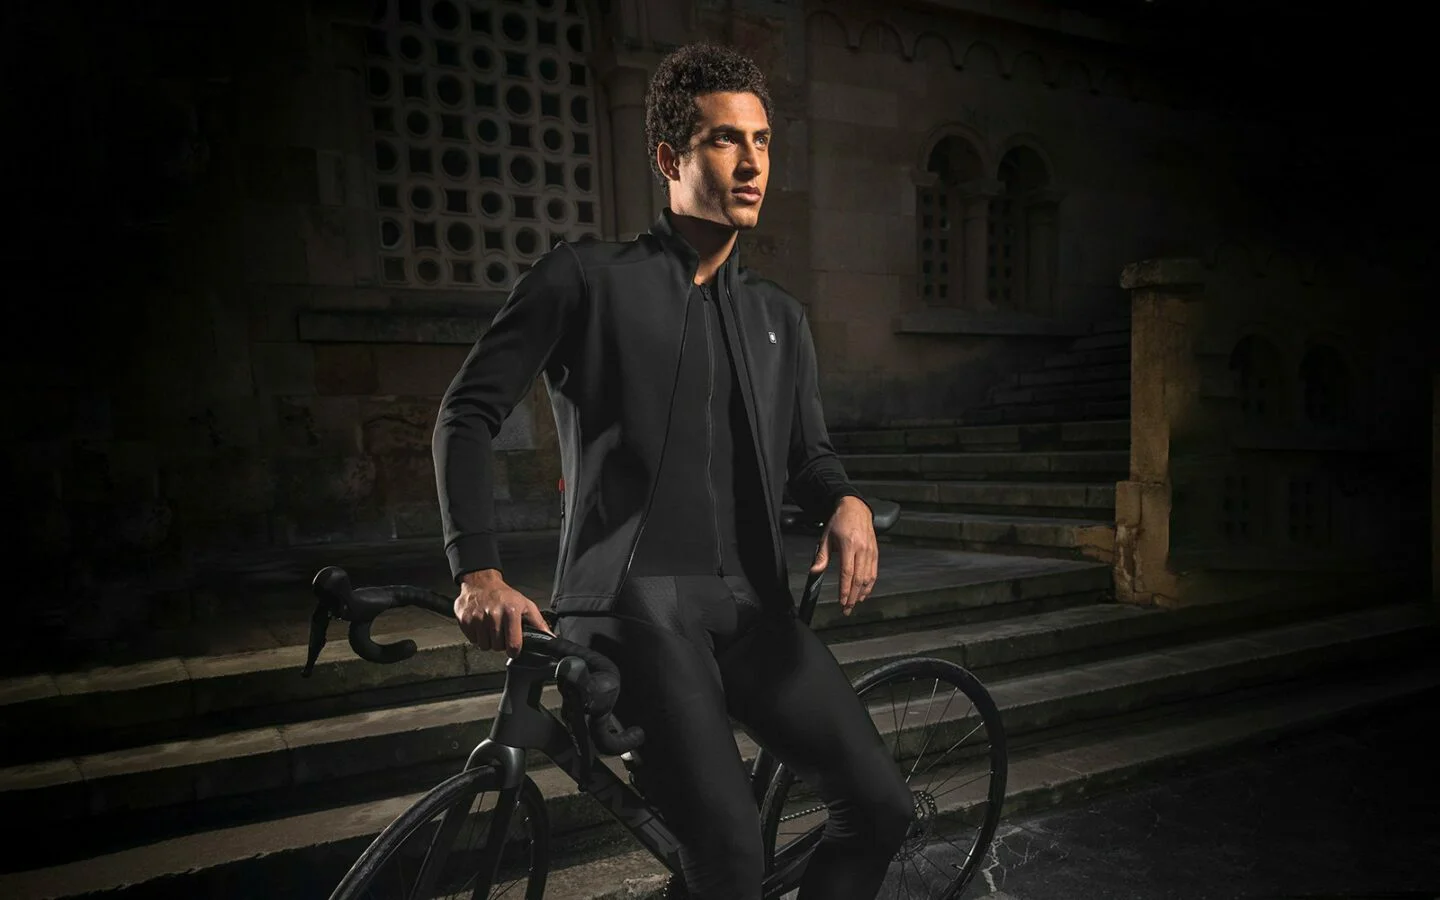
The vast majority of cycling clothing features reflective detailing, which is crucial above all on these four items: cycling bib tights, shoes, overshoes and gloves.
Reflective detailing gains extra visibility thanks to leg and foot movements.
Reflective gloves make us more visible when making turns or moving around.

You can also find cycling jackets, gloves or vests such as Langkawi from Siroko, in bright, eye-catching colors for extra visibility. There are also garments made entirely of reflective fabric designed for riding at night or in the dark.
If your clothing does not feature reflective detailing, you can buy elastic reflective bands for your forearms, ankles or waist. They are very practical and you can easily get them online.
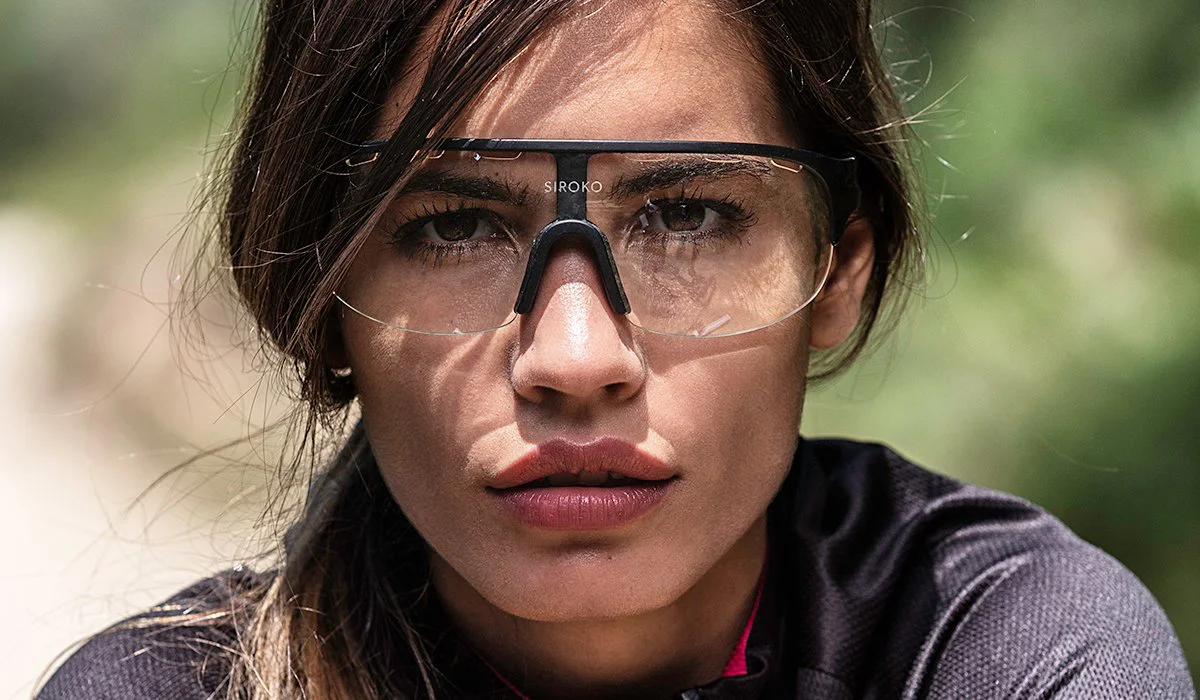
Don’t forget to put on your cycling glasses at night. Simply replace the regular lens with a clear one to protect your eyes from wind, cold, dirt and insects. Photochromic lenses will also do the trick at night.
Choose group outings
It may seem more dangerous, but in fact it’s quite the opposite as a bunch of flashing lights are much more visible than a single one. By seeing so many lights, other vehicles take more precautions, which makes riding in a group way safer.
Follow the traffic rules and make sure that there is a good rapport in the group (choose cyclists you are used to riding with). The cyclists with the best headlights should be in the lead to be able to warn the other cyclists of potholes or problems on the road.
Ride through well-known places
The better you know the terrain, the safer you will be. You will be impressed by your ability to remember potholes, curves and other terrain features. Just don’t get overconfident, after all it’s night and the turn that usually has a lot of grip may be wet and surprise you unpleasantly.
For interval training, look for familiar, well-lit terrain. This way you can concentrate on the effort and perform at your best.
Be careful at dusk and dawn
Although this article is focusing on tips for riding at night, we do not want to pass up the opportunity to advise caution at dawn and dusk. The sun is very low at these times of the day and its glare hits our eyes head-on. Pay extra attention as it can easily dazzle cyclists, pedestrians and drivers.
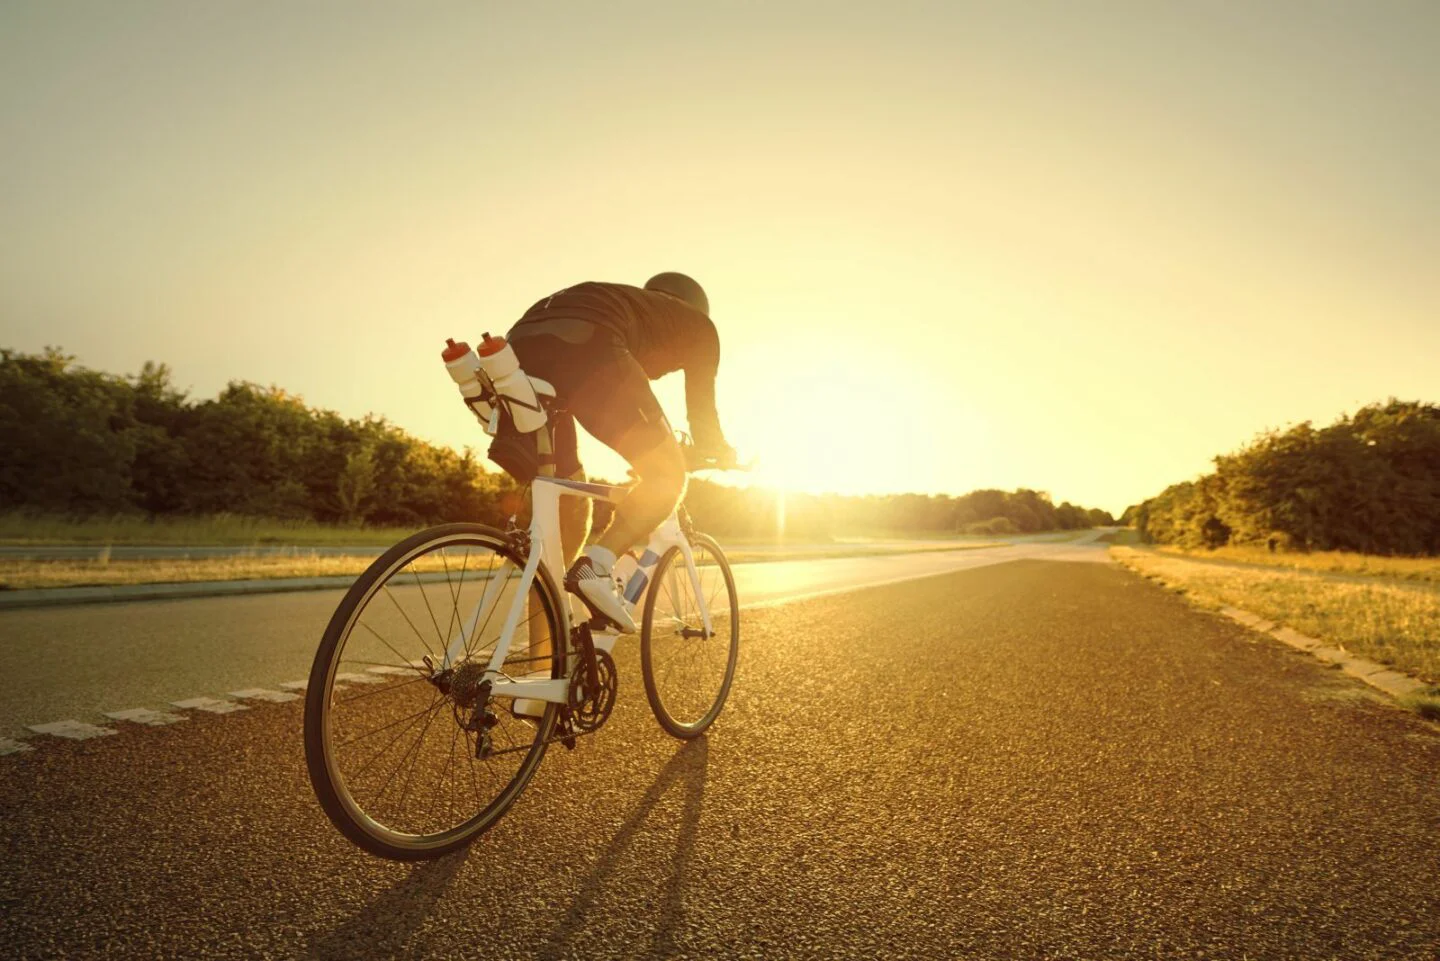
If you are riding around the city and the sun is blinding you, remember that it is also blinding other drivers and pedestrians, so keep all the lights on in flashing mode and focus all your senses on what is going on around. If you cannot see anything at all, stop, turn around and look for an alternative route. Better safe than sorry.
We know from our personal experience that cycling at night is safer than it seems. Firstly, because there is usually less traffic and secondly, because drivers are generally more cautious at night. We can see less, which makes us ride slower and pay more attention to the road. A flashing light at night draws our attention more than in broad daylight. So don’t let darkness deter you. Get well equipped and turn into a night cyclist.

Pingback: دوچرخه سواری در شب - دوچرخونه