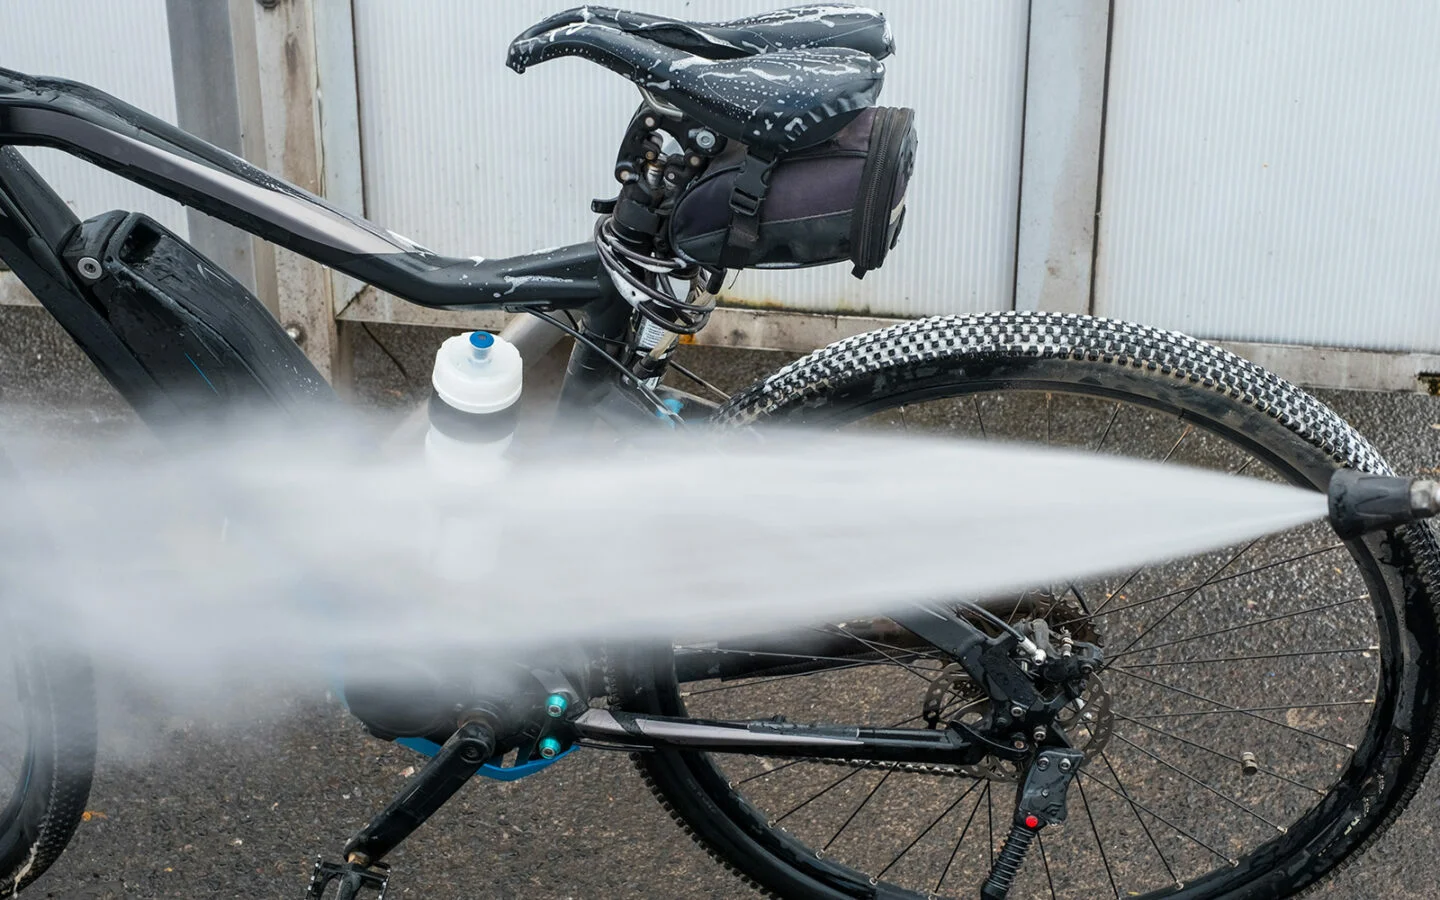
Most cyclists do not have an outdoor space they can use to wash their bike with a regular hose, liquid soap and brushes or soft sponges. Moreover, facilities specifically designed to wash bikes are hard to find, which is why the fastest and most efficient method is to stop at a car wash on your way back home from a ride, and use their pressure hose to clean it. Easy as that.
One problem is that high-pressure washing systems are advised against by bike manufacturers. Pressurized water comes out at 90 bars or 1,300 psi (pounds per square inch), sometimes even more, and such force can push dirt and water into certain areas or components of your bike, risking corrosion, damage or faster deterioration. However, having this in mind, by following our tips, you can safely clean your bike at a car wash.
Take your time
Our first piece of advice is not to rush the washing process, and instead, do it properly when you have enough time, using a few simple accessories and tools to help you make things easier. Make sure to carry a pair of gloves, degreaser, a brush and a sponge with you, and ride to the car wash later during the day, or at any other time when you know for sure you’ll be ready to properly wash your bike. The end result will be better, plus, you’ll also be taking care of your bike as you should, extending the life of the components and saving money in the process.

Wear the gloves to avoid getting your hands dirty, use the degreaser on the drivetrain and the brush to wash off all the dirt from that area without having to get closer with the pressure hose. You can give the bike a pre-wash using the water from your bidon to soak the bike a little, and then use a sponge and clean more delicate components and areas by hand.
From a distance and in quick strokes
In order to avoid damage from the high-pressure hoses at the car wash, do not point the stream of water for too much time nor too close on your bike, and by no means on certain areas and components we’ll be mentioning soon.

When it comes to an only slightly dirty bike, you can keep the stream of water at a distance of about 1.5 meters for all the dirt to wash off easily enough. However, on a bike that’s actually quite filthy (grease and mud of all sorts) you should start by giving it the pre-wash we mentioned earlier to avoid getting too close with the pressure hose. Skipping this step and wanting to get rid of all the dirt is impossible without aiming the stream of water too close to your bike. Some areas might be just fine, but others could get damaged, for instance, a small chip on the paint expanding or stickers coming off.
Do not use the soap mode

It might seem like a good idea to spray soap all over our bike by choosing this option on the pressure washer, but don’t forget you’re still at a car wash. Your vehicle doesn’t have four huge wheels and its bodywork is not made out of thick sheets of steel. This soap is to be used on cars and not on bikes, and if you still feel the need to use something else to help you wash off all the dirt use a degreaser, as we advised on tip number one.
Do not aim at rotatory components
Avoid the bottom bracket, hubs, headset, pedal axles, suspension pivots and rear derailleur pulleys, but also the chain, which is exactly the most vulnerable area as we tend to get too close with the pressure hose to clean it. By doing so, water will get into chain joints, and so will dirt.
Most bearings are sealed and, as you can see in the video above, you’d have to blast it with the pressure washer for the water to get in. However, it’s still better not to aim directly and closely at them, since not all bearings are the same; some might not even be sealed, while others might just have rubber sealings that could get damaged over time.
Now, in this last video you can see that even when it comes to new components, water might get into the bottom bracket, headset and bike frame when you jet wash your bike.
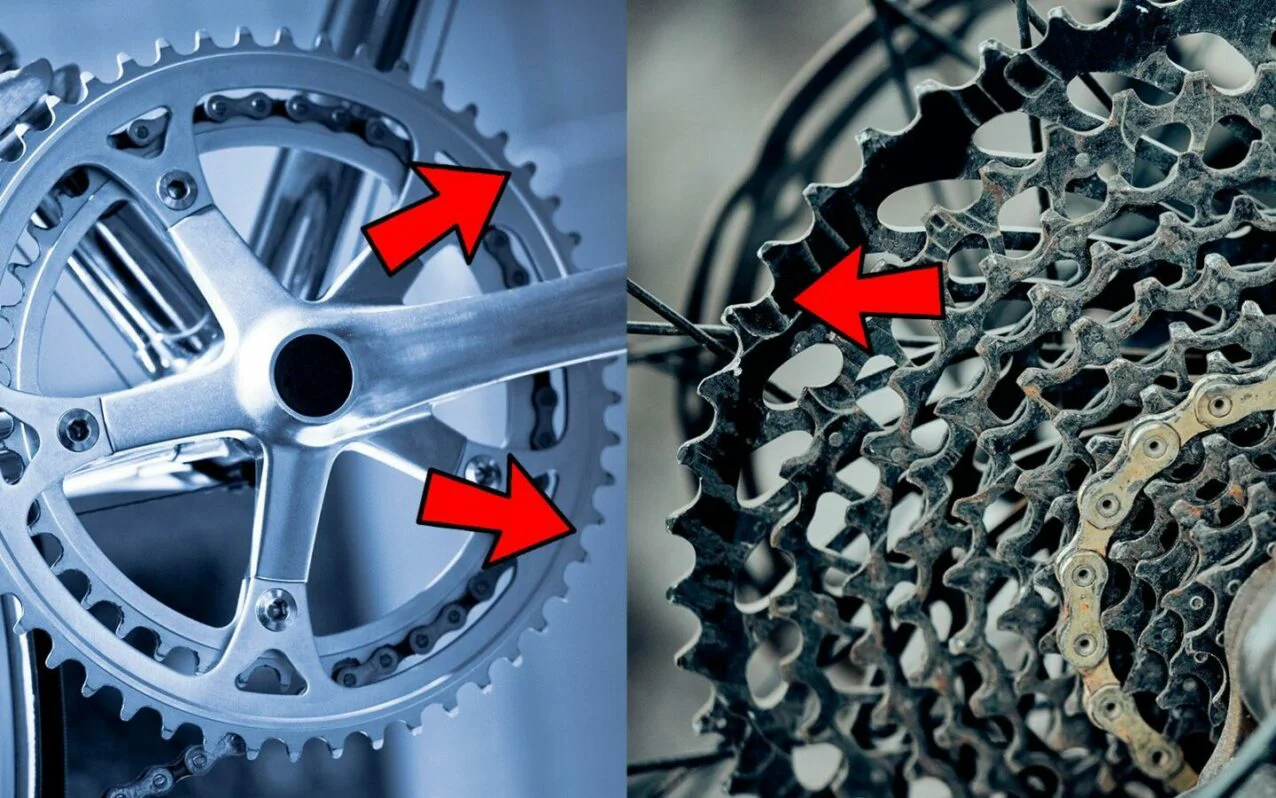
If you’d like to clean both the chain and the whole drivetrain (crankset, sprockets and rear derailleur), make sure to start with the pre-wash we recommended before. Then, aim the stream of water carefully only if you can see dirt still clinging onto the components, always avoiding the bearings. Work from the cogs outwards when it comes to the crankset, and from the outside into the cogs for the sprockets. Be careful with the rear derailleur pulleys as the cogs are very close to the bearings. And remember, you can always choose brush and sponge instead of high-pressure water for a better and safer result.
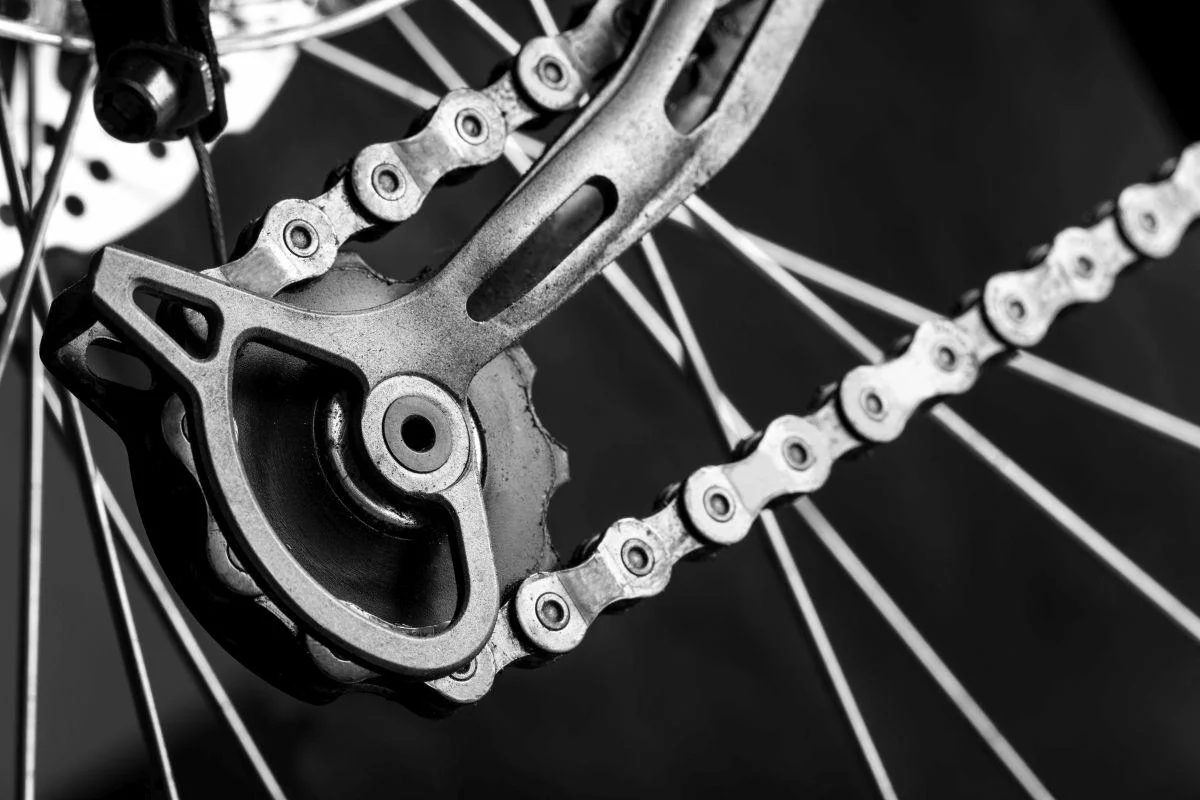
The same applies to the chain: Don’t overdo it, as it takes a few runs with the hose to keep it spotless. Instead, leave the degreaser on for a few minutes on the chain before rubbing the brush over it together with the whole drivetrain. Dirt will come off easier that way.
Be careful with the suspension fork
In this video you can see how blasting one of the fork’s stanchions with a pressure washer can result in water seeping inside the fork lowers. However, if you carefully wash it off from a distance and in quick sweeps, that risk is considerably lower. This is why, even if there are sealing systems that protect it, pressure washing is advised against by suspension fork manufacturers. If you do use pressurized water, remember to always do it in careful sweeps. In this case, the safest option is to avoid degreasers and car wash soap, and use just water or water mixed with neutral soap, and then pat with a soft, dry cloth.
Be careful with electrical components

Electronic gears have become quite common, and even though they are waterproof, manufacturers always warn against the use of pressurized water to clean them. Make sure to watch out for the shift levers and the front and rear derailleurs. The same goes for power meters and other electronic components such as cycling computers, bike lights and cameras. Needless to say that you should also take extra care when it comes to the components of electric bikes: motors, batteries, controls, screens and so on.
Drying and lubricating
To get rid of all the water that’s left after washing, lift the front wheel and straighten your bike, then make it bounce on the rear wheel. Repeat the process by lifting the bike now horizontally, and make it bounce on both wheels. Finally, spin the drivetrain counterclockwise as fast as you can. Repeat as many times as needed until no more water comes out. Now you can hop on your bike and the wind will do the rest of the drying on your ride back home. Even so, once you do get home, make sure to run a dry cloth over your bike (use a separate one for the drivetrain). Pay close attention to all the nooks and crannies, bolts and holes. Once fully dried, apply a very thin layer of lubricant on the chain, and wait for 15 minutes before removing the excess with a piece of paper — a greasy chain is a dirt magnet.
Keep all these tips in mind and you shouldn’t have to worry too much about cleaning your bike at the car wash. Even so, it never hurts to run a quick general inspection to check for damage or corrosion, or for rotatory components that need lubricating by taking the drivetrain, headset, hubs and all rotatory components apart. If you’re a bit intimidated by the task, just take the bike to a reliable workshop to avoid any issues and save money in the long run.
