A clean, properly oiled bike not only works better, but it looks better too. The same applies to cycling clothes: A clean pair of bib shorts will always be more comfortable to wear and more hygienic than one still dirty with sweat. Plus, it will last longer. In this blog post, how to take proper care of your cycling clothing, we have already shared a bunch of cleaning tips with you but there are several other items you might not be cleaning as frequently as you should:
Helmet: pads and straps
Both sweat and dirt build up on your helmet with use. The more you sweat, the more thorough the cleaning should be, especially if you practice MTB or gravel, as a lot of dust and soil gets mixed with all the sweat. The good thing about this is that the dirtier the helmet, the easier it will be to see all the filth accumulated to get rid of it faster. However, even if you think your helmet is just fine at first glance, the pads and the straps should be cleaned regularly.
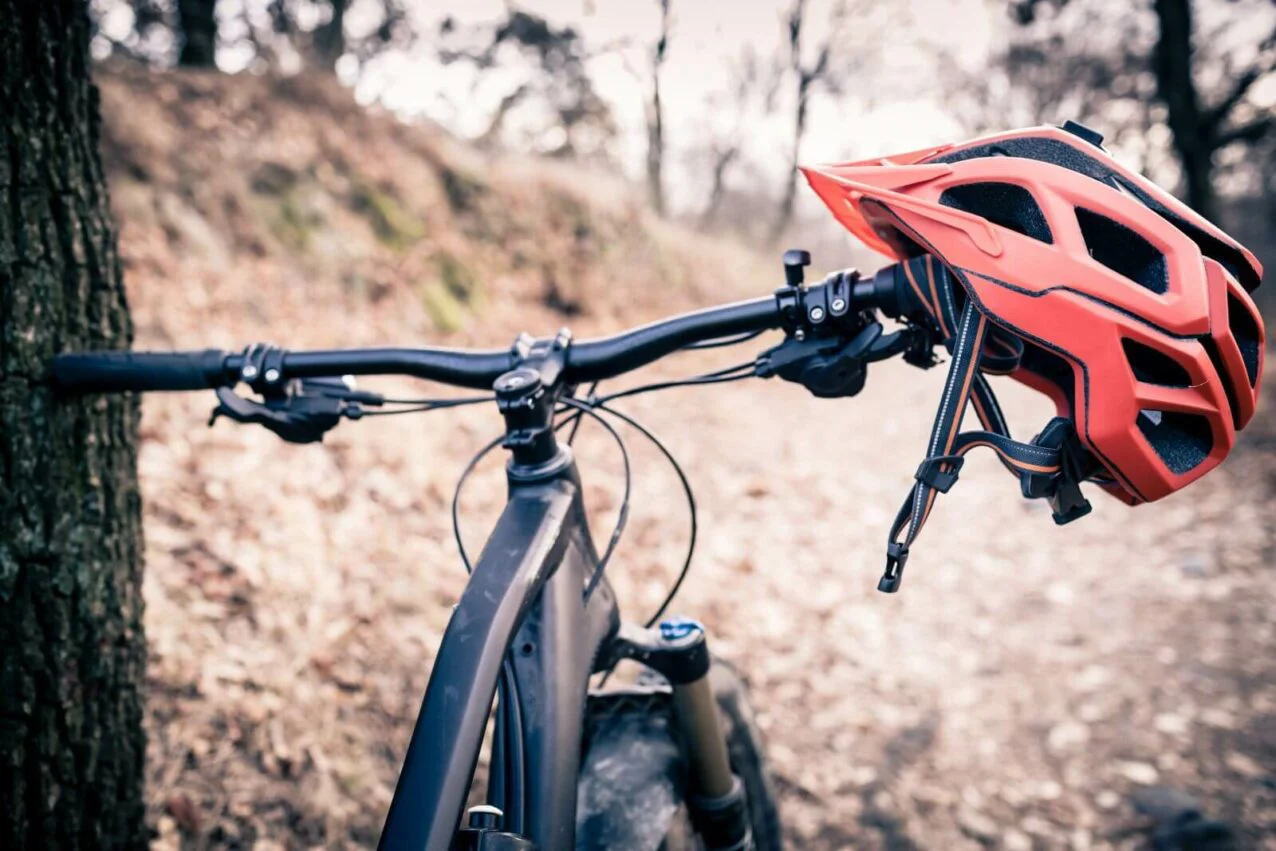
In most cases, the pads can be removed and washed together with the cycling clothes, but be very careful not to lose them. The straps, on the other hand, cannot be detached from the helmet, but once you’ve removed the pads you can wash them using a damp cloth and neutral soap. Do this with the inside of the helmet as well. Then rinse the helmet under cold water and let it air dry.
Cycling sunglasses: frames and rubber bands
Just as with your helmet, bike or clothing, clean the lenses of your cycling sunglasses immediately when they get dirty. If you don’t know how to do that, you can take a look at this blog post, where we explained that some types of dirt can’t be seen at first glance and keep building up in the frame of your glasses, as well as in the rubber bands for your temples and the nose pad.
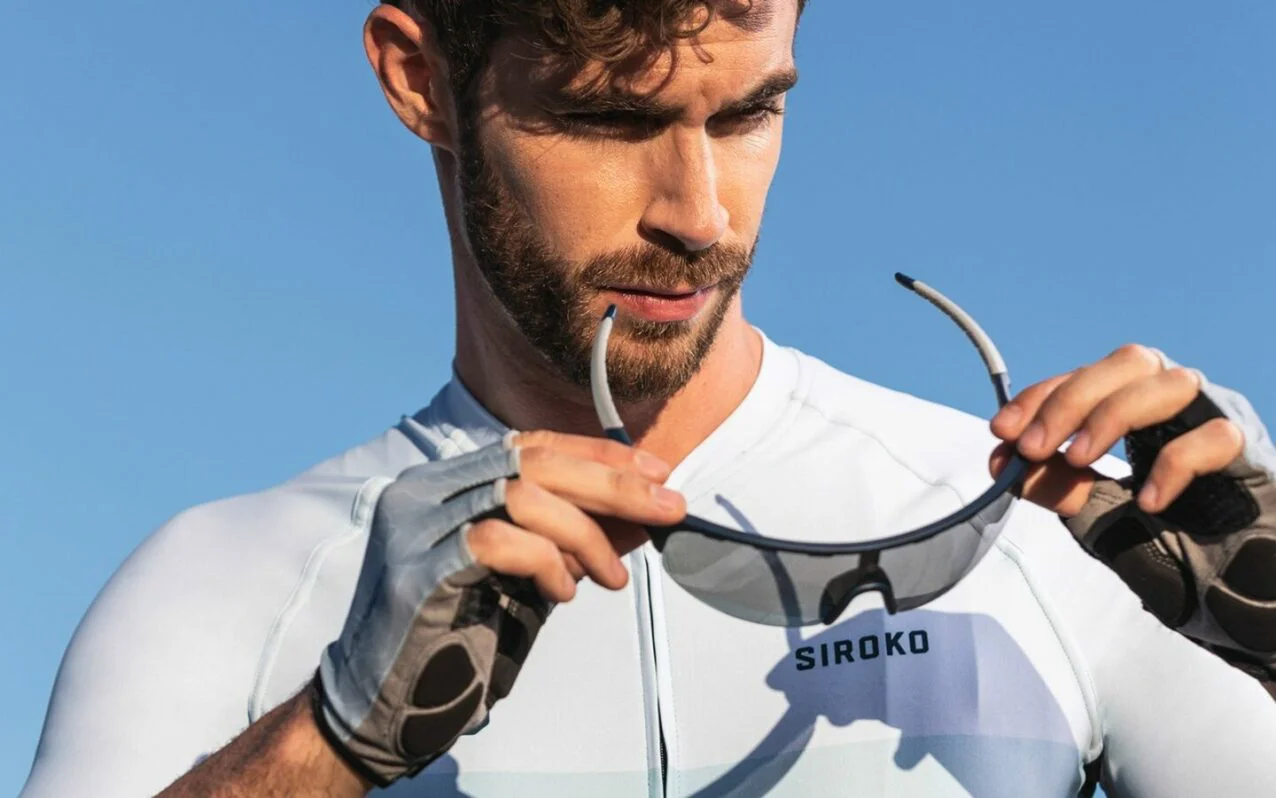
To clean the frame, remove the lens and the rubber bands. Then clean the frame under running water with an old toothbrush, reaching all the corners. Wash the rubber bands with neutral soap and lukewarm water to get rid of all the dirt. Rinse everything well with cold water, dry and put the rubber bands back on the frame. Finally, reinsert the lens.
Heart rate monitor: strap
It is usually cleaned either too much or too little, and not in the best way possible. Most manufacturers recommend rinsing the strap after each use in order to get rid of sweat. Then, every 5-7 days (depending on the model or sweat/dirt level) you should hand wash under cold water with a bit of soap. NOTE: You mustn’t wash it in the washing machine or put it in the tumble dryer as it might lead to pairing issues between the heart rate monitor and the bike computer.
Indoor bike trainer
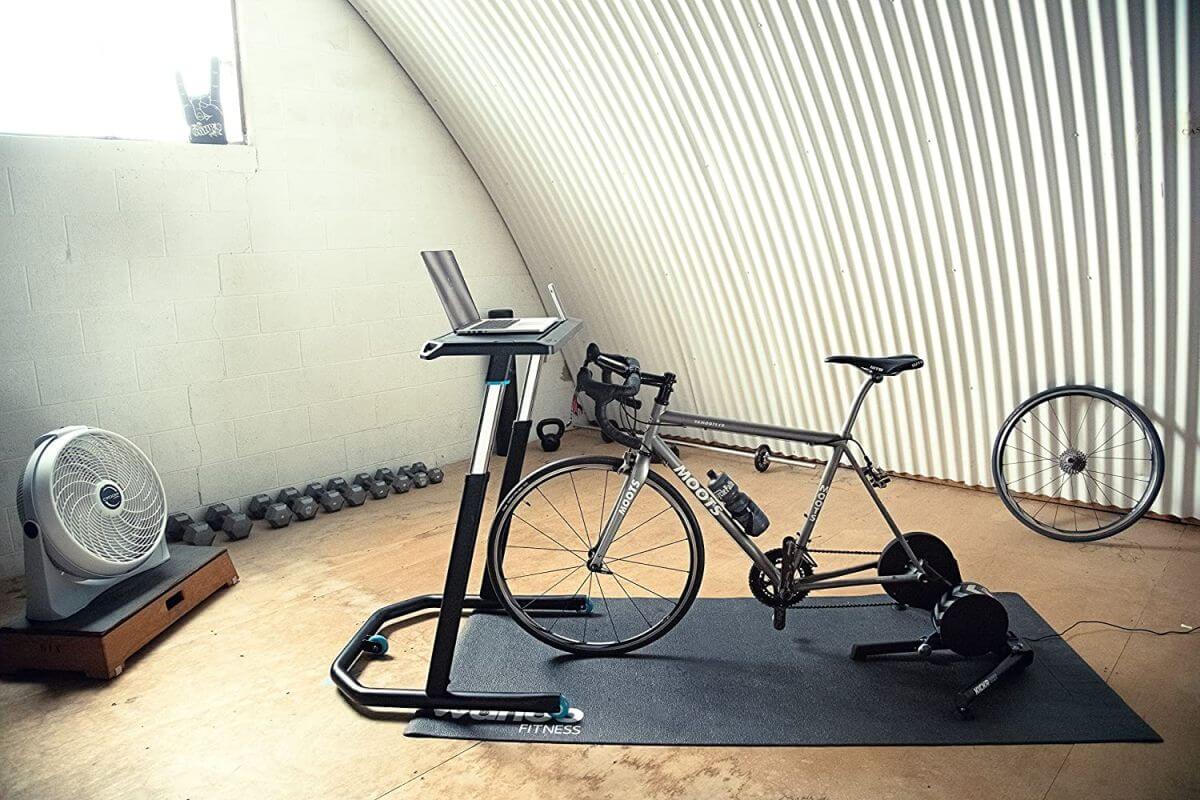
We’re prone to sweat quite a lot on the indoor bike trainer, and all this sweating comes with salts, acids and humidity. This combination can produce rusting in unexpected areas of your bike that can become unfixable. In this previous blog post we have already given you advice on how to clean and dry your bike after each training session. Moreover, if you sweat a lot and use the indoor trainer at high intensity, you should be frequently looking for corrosion and/or salt build-up under the handlebar tape, the saddle, the seatpost and its head and clamp. Make sure the seatpost can go in and out of the seat tube correctly.
Bidons and hydration packs
Bidons are plastic bottles with corners, rims, gaps and a narrow spout to drink from. They are always exposed to heat and dirt. Plus, we fill them up with drinks loaded with sugar and salts. A similar thing happens with hydration packs. All of this together makes for an excellent breeding ground for bacteria.
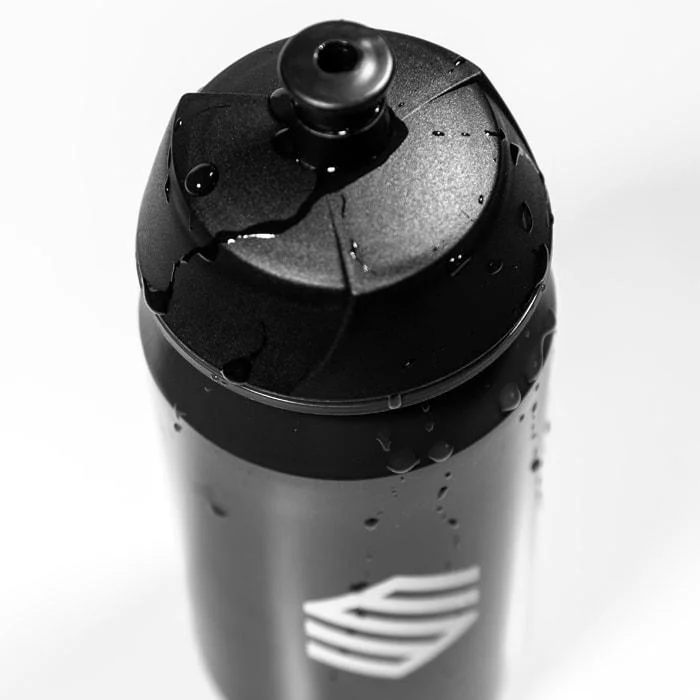
You can find a guide on how to wash bidons in this post. You can use these methods to clean the hydration packs too, and that way you’ll make sure you won’t get sick on the stomach if you drink while pedaling.
Shoes and insoles
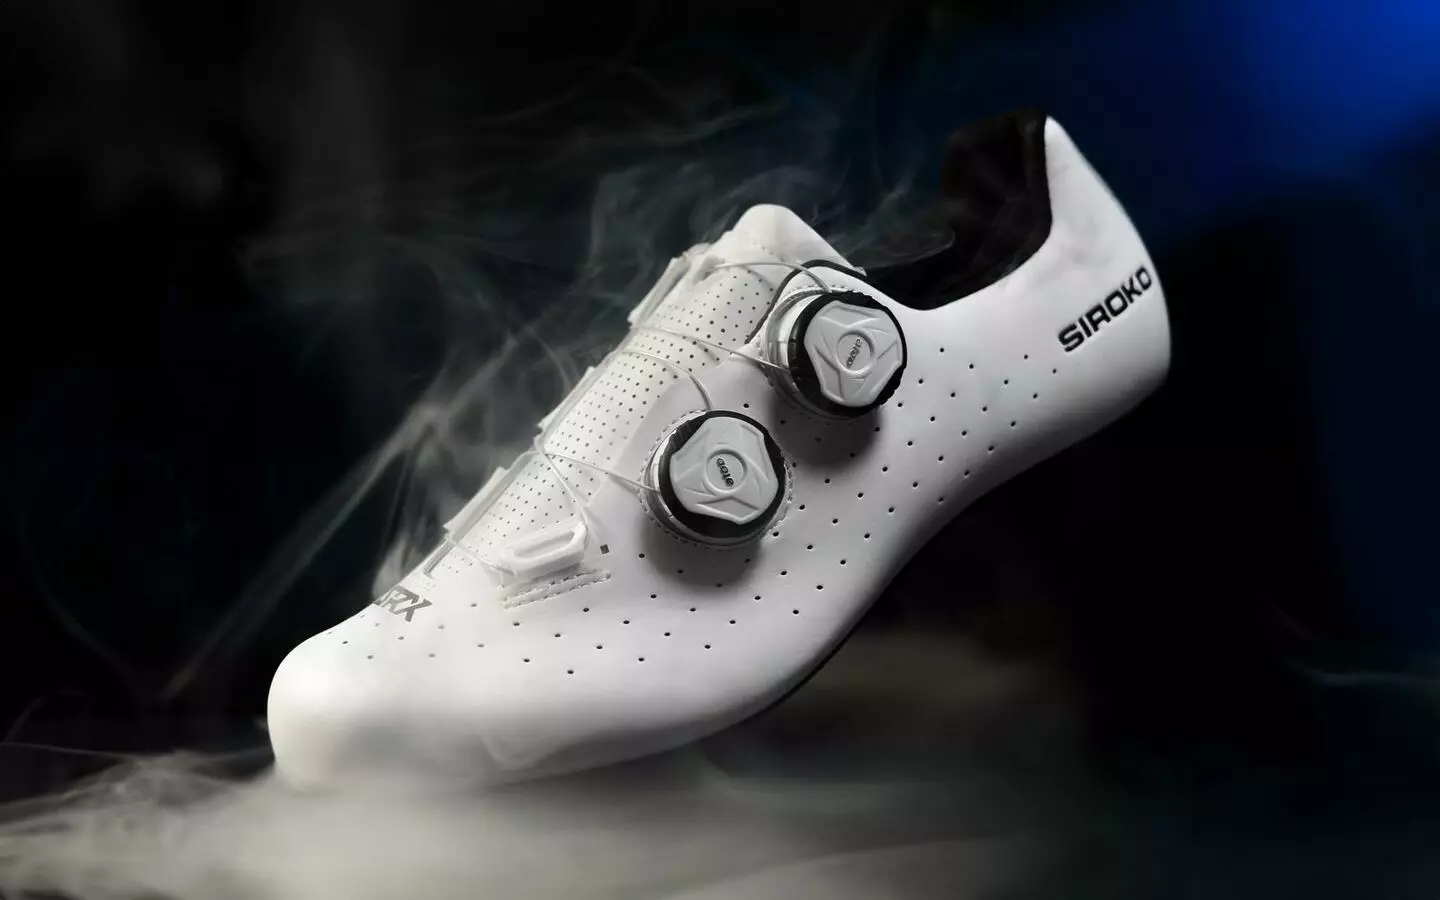
You wouldn’t put on an outfit starting from the bottom, right? And that’s why we wrap up this post with cycling shoes. Given that you’re not a cleaning freak or have some special fondness for your cycling shoes, the same thing happens with them as with the helmet and cycling sunglasses: You only clean them when they actually get dirty. And oftentimes, it is too late already because dirt builds up, becoming harder to remove. That is why, even if you don’t think they’re dirty, you should clean them anyway after each 1-2 days of use or at least once a week. Here’s an educational video by Rides of Japan on this topic:
If MTB, gravel or cyclocross is what you do, the cleaning must be stricter in order to get rid of all the soil and mud. You can be a bit harsh and wash the shoes using the high-pressure hose you use to clean your bike. Or you can be more gentle and take this video by Trek as reference:
Do not wash your cycling shoes in the washing machine or put them in the tumble dryer, as you can either damage them or the clothes you put them in with. The insoles, however, can be put in the washing machine just fine. To dry them, don’t put them near a heat source. It’s best to let them air dry, away from direct sunlight. To help them dry faster, use newspaper sheets, a towel or a rag.


This is such an informational post, Thanks for sharing this post with us, I really like it and keep sharing this kind of informational post with us.
Hi Brain,
Thanks loads for reading our blog!
Best
Siroko
Shoes do great in a washing machine. Simply put them in a laundry bag with a small towel around them and run them with a load of towels. Easiest way to clean your shoes, especially white ones.
Hello Brian,
Thanks for your comment, it’s a great idea. We will test it.
Best
Siroko