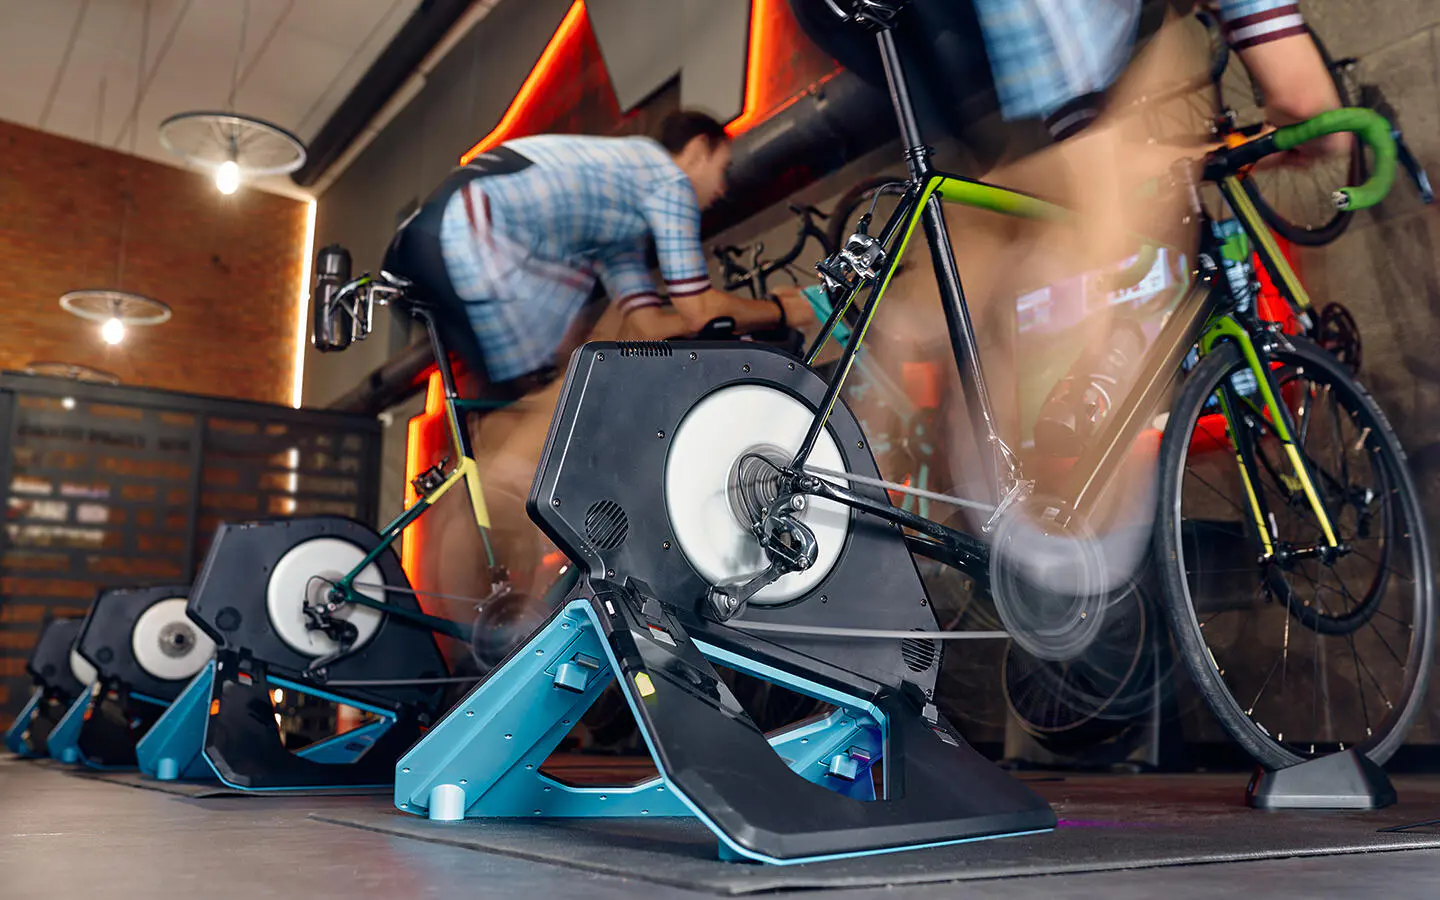
Indoor cycling really gained traction during the pandemic. However, it had already been a pretty popular choice, both among pros and amateurs who wanted to keep training despite the bad weather outside and among recreational cyclists as an effective way of exercising at home. The improvement of materials and technology, along with the development of different apps for smart trainers added a fun and engaging twist to what had previously been a boring and tedious activity, turning it into an exciting and highly enjoyable experience.
One thing hasn’t changed: you sweat a lot on the trainer, which means you need to pay special attention when it comes to taking care of your bike. The intensity of your workouts and the inevitable sweating can have a significant impact on your bike’s components if proper precautions are not taken. In this article, we are going to explain basic maintenance rules and care practices that ensure optimal performance and maximize the durability of your equipment, keeping you safe and prolonging the life of your bike.
Pre-workout care and preparation
If you have a wheel-on trainer where the resistance is applied on the rear wheel, don’t use the wheel you usually ride on. There are specific, harder tires that, along with an old rim and a spare cassette, save you from putting on and taking off the tire on your regular rear wheel. If you don’t have a spare cassette, don’t invest a lot in a new cassette for your trainer, it’s not worth buying a high-end model. The basic one would be enough, just make sure it is compatible with your bike.
Protecting the floor
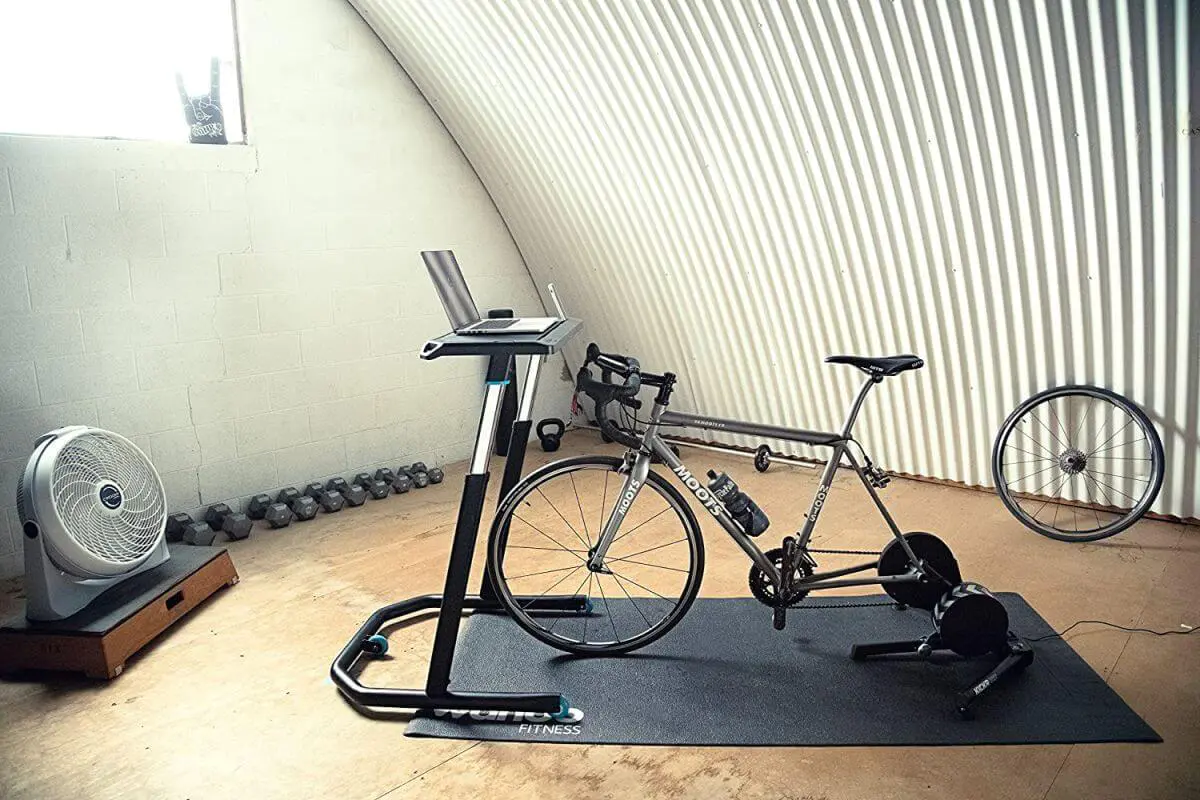
Choosing the right mat is key to properly protecting the floor of your training area. While there are specific mats available, you can also use alternatives such as yoga mats or gym mats that are sold individually or in packs.
Preparing the indoor trainer
When using a direct drive trainer, it is vital to follow a careful procedure to make sure everything goes smoothly:
- Place the mat in the area where you want to work out, put the trainer on top of it and prepare the anchoring area.
- Next, take the bike, set the gear on the large chainring + small sprocket and unscrew the drivetrain from your bike.
- Remove the wheel and place it in a safe place.
- If you have a disc brake system in your bike, use a spacer to avoid problems if you unintentionally squeeze the rear brake lever.
- Attach the bike to the trainer by placing the chain on the smallest sprocket. If your bike has a quick release system you probably have the spacer already in place. If you’re using a thru axle wheel attachment system, insert the axle of your wheel and, before tightening it, make sure it is well aligned so as not to damage the thread of the axle or the frame.
- Make sure you tighten it enough to avoid flying off with the bike, but don’t over-tighten it either, as you might end up applying too much pressure on the area.
- Before starting the workout, make sure everything is well attached, clipped and tightened. If you are going to spend many hours cycling indoors, it is worth spending a few minutes to make sure everything is OK.
- Once the bike is attached to the trainer, do not move the whole structure because your bike is not designed to support the weight of an indoor trainer (it can weigh over 25 kg so you’re risking damaging chainstays and/or seat stays). First take the bike off the trainer, lay it on the ground on the side without the drivetrain and move the trainer to the desired location.
During the workout

Sweat, consisting of water and minerals such as sodium, magnesium, calcium and potassium, can trigger harmful chemical reactions when it comes into contact with materials such as steel, aluminum and carbon fiber resins or polymers. To prevent corrosion and its potentially dangerous consequences, use a towel or sweat catcher. Place a towel on the handlebars to protect the headset, stem, screws and bolts, cables, shifters, brake levers, handlebar tape and grips.
After the workout
Once the training session is over, besides cleaning and drying the bike (handlebars, stem, cables, tubes, especially the top tube, seat and seat post), you should also clean and dry the floor or mat using a mop to get rid of sweat, dirt and grease that may have come off the bike and the drivetrain.
We recommend removing the handlebar tape at least once a month to check the condition of the handlebars thoroughly. You might also need to to remove the handlebar stem to check the condition of the headset bearings as this area is particularly prone to deterioration from sweat.
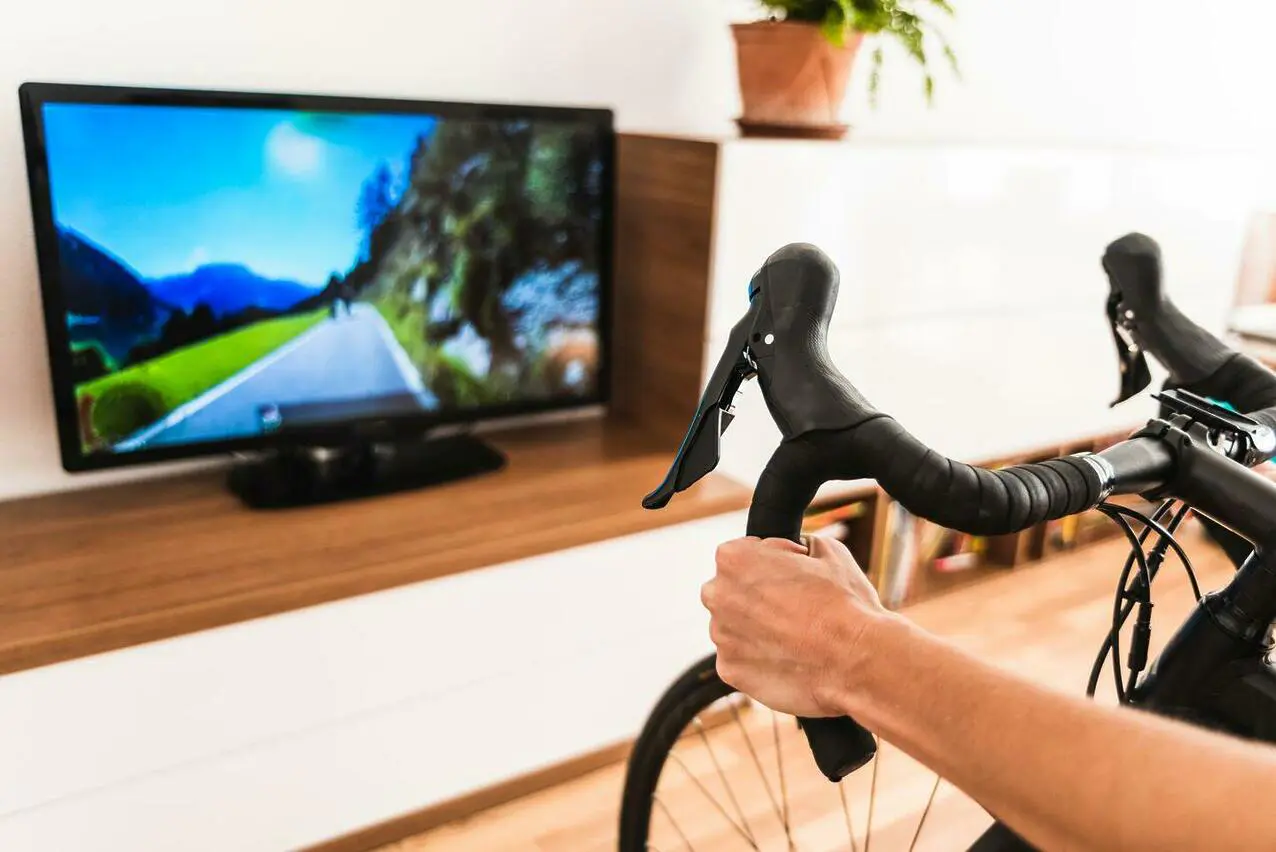
After several indoor cycling sessions in a row, check the screws and bolts to make sure that none of them are loose and remove any possible play in the bike.
You may want to clean the indoor trainer itself periodically, so that it does not accumulate dust and dirt. This extra care will ensure smooth and safe performance of your equipment over time.
Drivetrain maintenance
Keeping your drivetrain clean and properly lubricated is key to reducing friction and noise. If you use a chain cleaner, you can do this without the need to disassemble parts of the bike. Remember to place absorbent paper towels under the chain to prevent the floor or mat from getting dirty.
Paying special attention to chain wear and its general condition is essential if you want to prevent damage to the cassette and the rest of the drivetrain. Preventing damage in advance will save you enough money to get a yearly Zwift subscription.
As you can see, attention to detail and proper maintenance of your bike before, during and after indoor cycling training sessions guarantee optimal performance and extend the lifespan of your entire set-up. Simple precautions and regular maintenance will allow you to make the most of your workouts at home safely and effectively.
